I thought I'd share some thoughts on cake competitions. As I mentioned, I had an impromptu trip back to the uk, so time got crunched severely. I had high hopes for my competition cake.
I decided to 'go big or go home' and enter the grand wedding cake competition. It required 4 tiers, they must be different shapes and heights. The cake was to be based upon a song. I decided on 'an english country garden' and set about making some flowers.
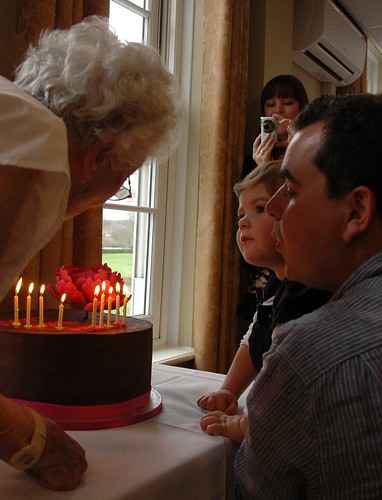
I knew grandma needed to be acknowledged, so the second tier was violets (her real name) with one white violet on the back for her. I also made daffodils, roses, lily of the valley, ivy, gentian. I wanted to do so much more, but didn't have time, with just one day to do what I could to enter a cake. I thought as it was a wedding cake, it would be fun to have a gnome bride and groom, since they were mentioned in the song.
I knew straight away I wouldn't win anything, this is nowhere near the standard of the other entries, but I thought it important that I enter something, as the cake club would have empty spaces where cakes were supposed to be.
I was very disappointed to be 'called out' later by a member of the cake club for submitting a cake that wasn't quite up to scratch. I know its catty, but this is my space, and I wanted to share how traumatizing the cake world can be. I'm very lucky that this has been one of my only nasty experiences. It really knocked the stuffing out of me, I was so embarrassed to be entering a sub-standard cake to the competition, and for being called out. It was particularly difficult since none of the people had mentioned anything when I brought the cake, which would have been the appropriate time. I'm just getting my mojo back, but I felt this should be a cautionary tale for anyone who gets into this kind of thing. Competitions can be hard core and a world that should be full of sweetness and sugar can often be very sour at times.
Also, its very easy to take constant complements from well meaning family and friends and start to think that you are some kind of amazing genius. I think its good to be reminded of ones place, I make little cakes, I try my best to make sure they are made with the best ingredients and taste wonderful, I love to make them pretty, but I'm not a prizewinning 'cake artist'.
Onto happier things, there were lots of other wonderful entries in the competition, I'm embarrassed that I forgot to get a photo, but congratulations to my dear friend,
Jaqueline Butler for her wonderful spring entry, and her first prize rosette!

Here's a lovely example of string work from my super talented friend, Chanisa.
A stunning succulent (I'd love to get a lesson!) and amazing piece of artwork from the lovely
Sugarlump Cakery.

Another lovely piece of art from
Hey there cupcake. I love her unusual technique of using rice paper as a decoration, to produce etherial flowers and a beautiful canvas for patterns.
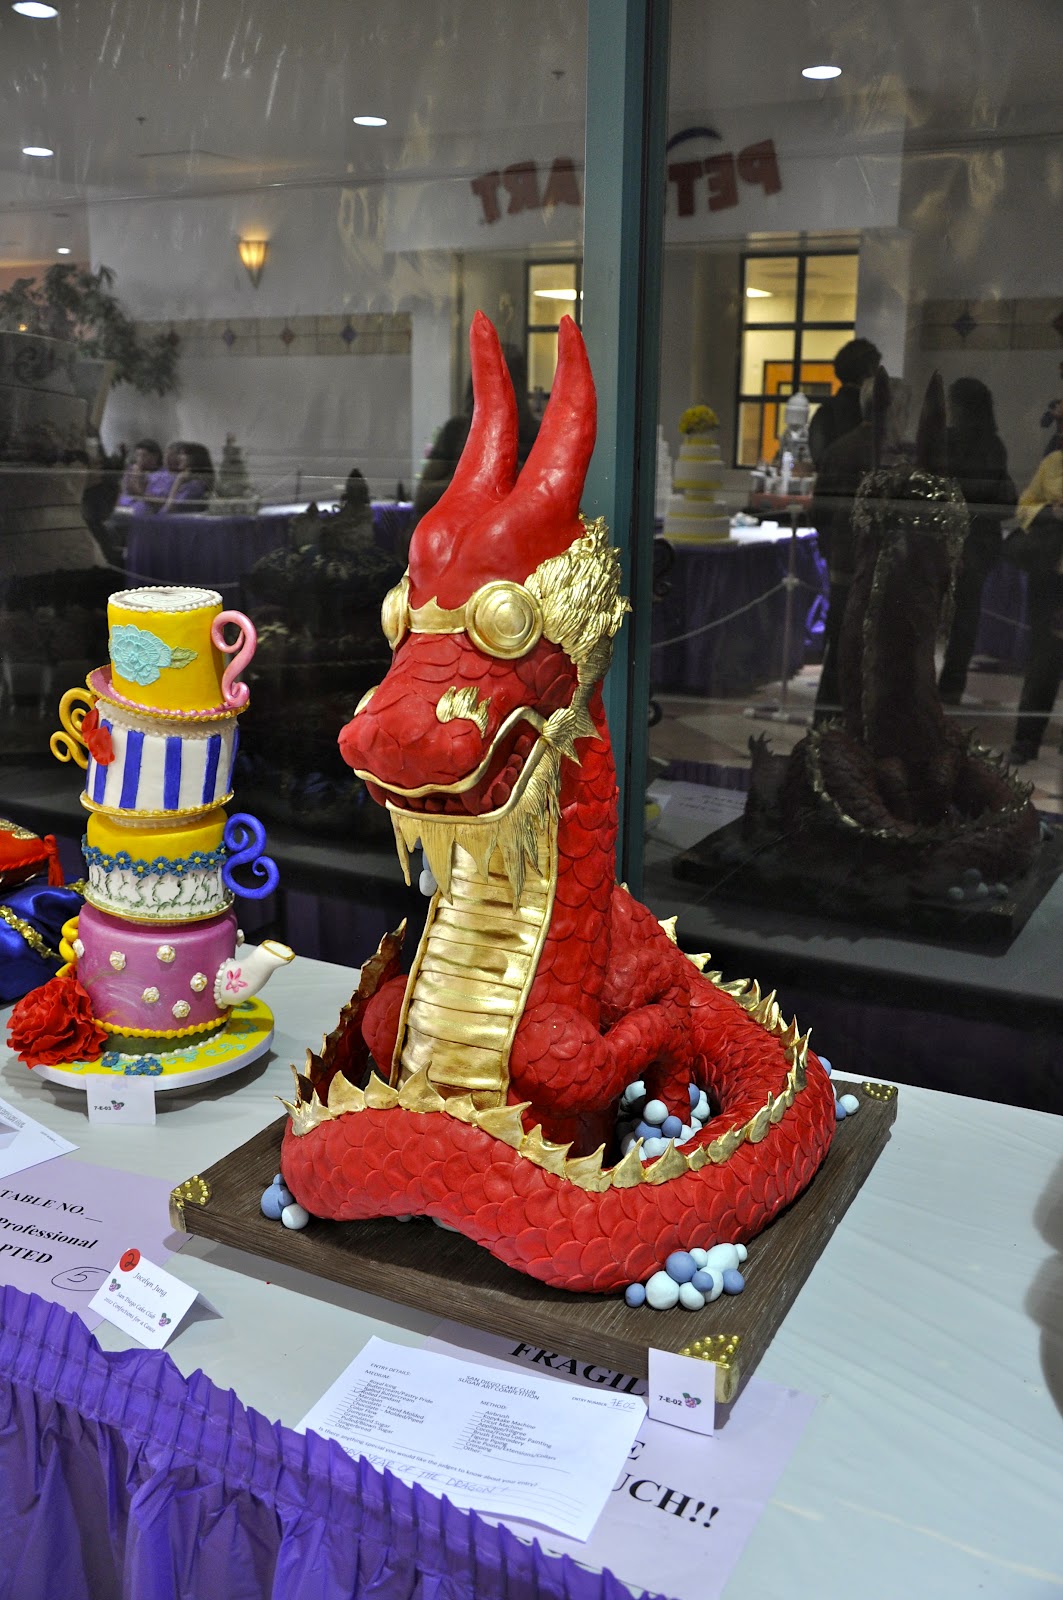
Here are a few other cakes that caught my eye, there were lots of stunning pieces, but here are a few highlights. Some of the lighting was bad, so it was difficult to get great pictures of everything, and I missed out some wonderful artwork, but it was amazing to see what is possible with sugar! And it was great to raise so much money for the Ronald Macdonald house, where families with children in hospital can stay so that they can be close by.